Have you ever wondered what it’s like to hire an interior designer? Or have you worked with a designer before, but wondered what goes on behind the scenes? We’re taking you behind the scenes in our blog series, The Life of a Design Project! In this four part series, follow along as we take you from the Design Concept phase of a residential project, all the way to Install Day!
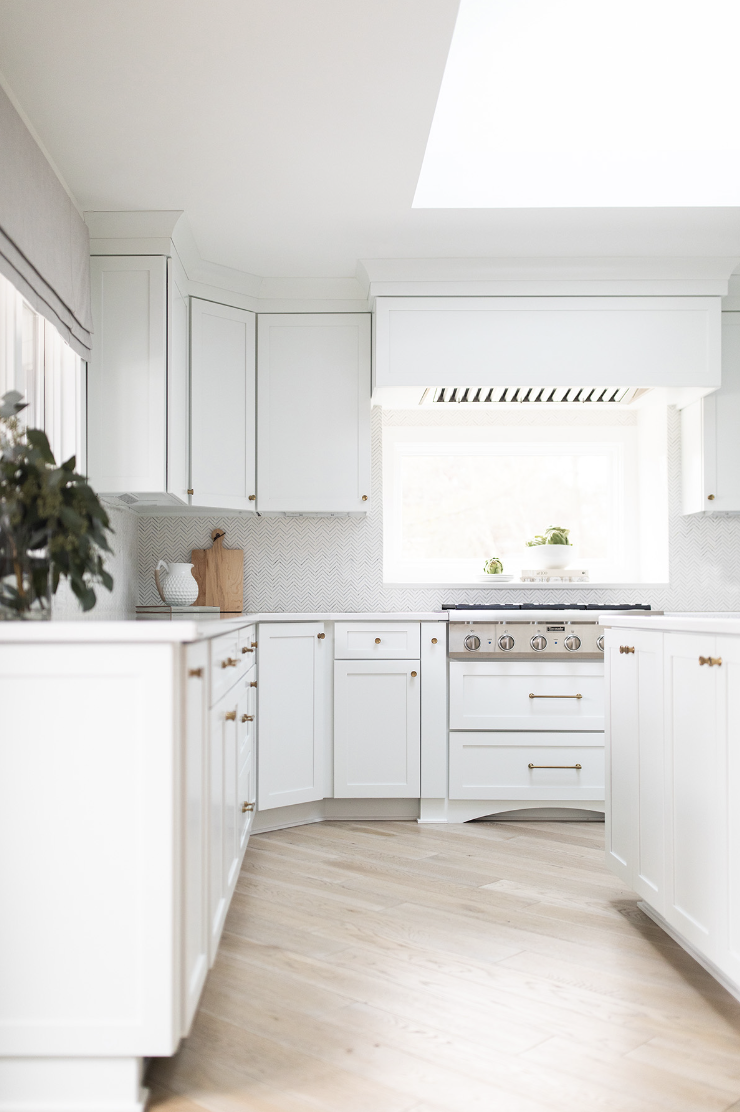
For the project we’ll be following in this series, the clients are remodeling their basement, furnishing multiple rooms in their home, remodeling their powder room, and putting in new window treatments throughout the home. They also have a great room with a unique design challenge: the room is open and airy with walls that are, floor to ceiling, 20 feet tall and completely bare.
In this month’s installment, we’ll show you all that goes into the selections phase of a project!
Selections
After Jessica met with this project’s clients to go over the design concept, the clients reviewed the budgets the team had provided for them. Once that was settled, Jessica could begin selecting furniture.
To get some inspiration, Jessica (and several other members of our team) went to High Point Market. At High Point, Jessica was able to see hundreds of items in person, get some more design inspiration, and pick items that perfectly fit the clients’ vision.


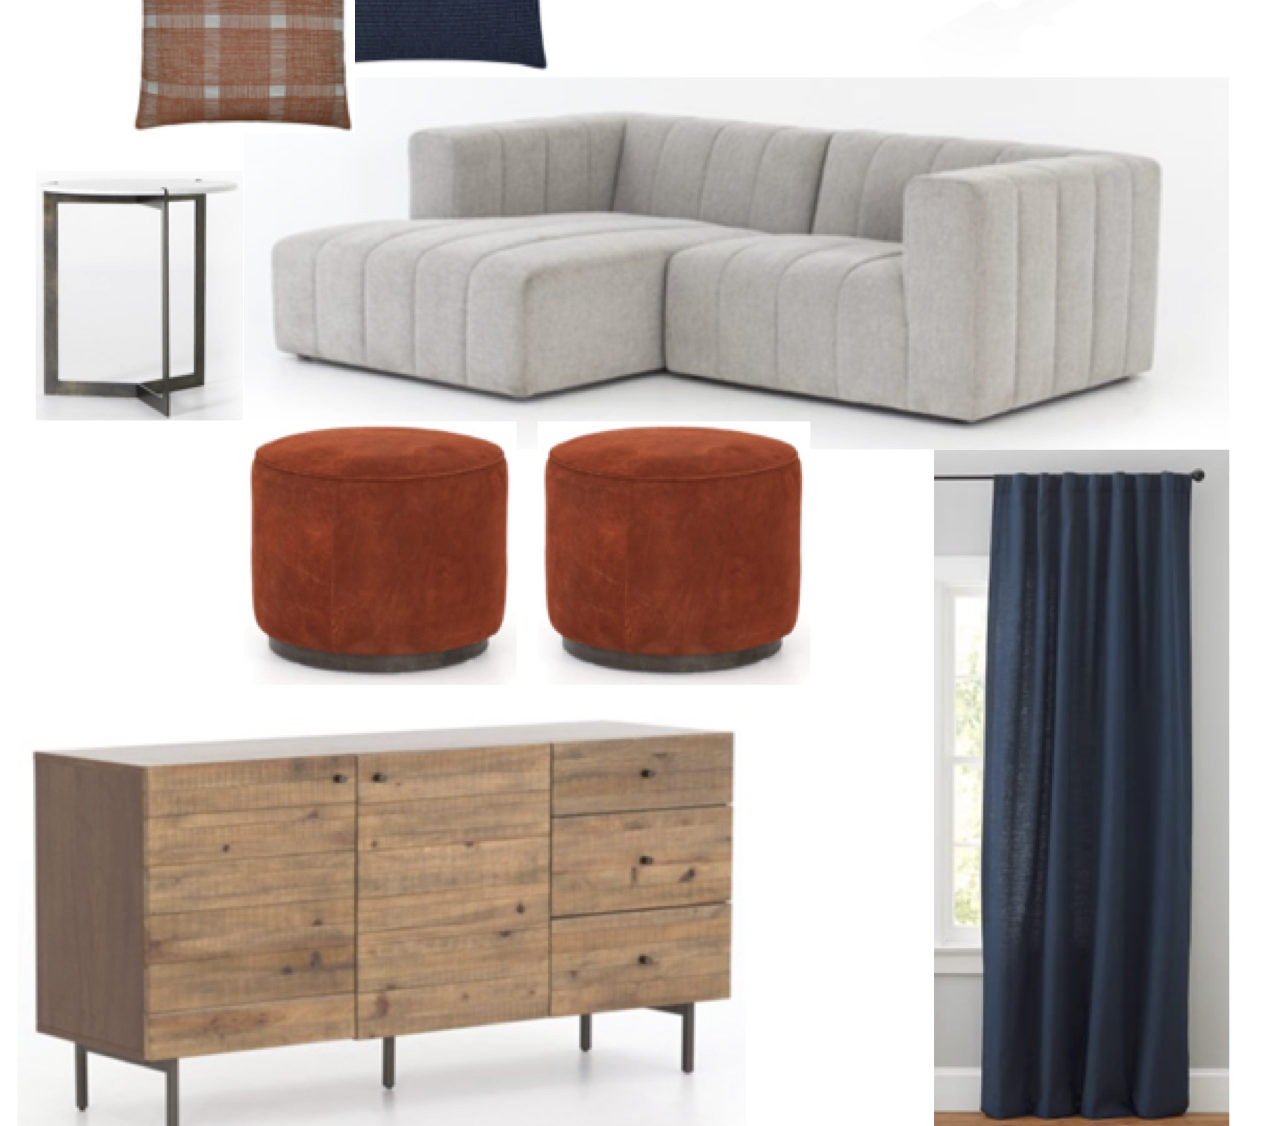
When she returned from High Point, she continued the research she’d begun at market and went room by room and made selections for furniture, lighting, artwork, mirrors, wall coverings, and surfaces.
Behind the Scenes Info: Pulling furniture selections for a project of this size can take anywhere from 8 to 16 hours of dedicated, focused work!


Once these selections had been made, she researched what fabrics the customizable pieces of furniture could be made with. She selected fabrics based on the color palette the clients had picked, as well as the lifestyle and needs of the clients. For example, she knew that she would need to select a durable fabric for the bonus room couch, as it would be getting a lot of use from their son and his friends!
From there, she layered in the fabrics that the clients had selected during the design concept phase. These fabrics will make an appearance in window treatments and pillows!


Next, Jessica found a place for the wallpapers, paint colors, and other wall coverings that the clients had picked during the design concepting phase. (The design process really is very collaborative, after all!)
Once wall coverings had been chosen, Jessica was able to select artwork, mirrors, and lighting.
For artwork, Jessica decided to pick abstract pieces, full of pops of color that would complement the design. She selecting a mix of both canvas and print artwork.
Mirrors were selected to add visual interest and space to the home’s rooms and floor lamps and table lamps were picked too! Lighting can make or break a design.
Behind the Scenes Info: For this project, Jessica sourced artwork from Leftbank Art and Wendover! Selecting the perfect lighting and artwork can take a full 8 hours, depending on the size of the project!


Rendering and Building the Presentation
After selecting furniture, fabrics, pillows, artwork, and lighting, Jessica began making changes to the renderings she had presented to the clients in the design concept phase of the project.
She made edits to floor plans based on the dimensions of the furniture she’d selected and even edited the furniture layouts of some rooms, taking into account the use of each room, and the space that the selected furniture would occupy.
She also edited the elevation of the great room, dropping in a wallpaper that the clients had selected!
After completing all of the renderings and revisions, it was time to put together the presentation!
Jessica put all of the renderings into a presentation (this is usually in Word or InDesign). She also put images of all of the furniture, artwork, lighting, and pillows into the presentation pages.


On the day of the presentation, she printed the finished presentation on 11×17 sheets of paper and laid them out on the conference room table for the client to refer to. She pinned the fabric selections, wallpapers, and paint selections to the conference room wall so that the clients could visualize the finished design more fully. She also provided a bound copy of the presentation for the clients to bring home with them to consider.
During and after the presentation, the clients gave Jessica feedback on the selections she’d made. From there, she was able to make final selections and send the edited presentation pages to them!
Behind the Scenes Info: Building the presentation itself can take 6-8 hours!


Pricing, Documenting, and Ordering
Once the clients approved all of Jessica’s selections, she began the documentation and pricing phase.
She organized every item by room and quantity and wrote everything out by hand. From there, she entered everything into our electronic system for our Procurement Manager to review. For every individual item to be ordered, she had to upload images of that item into our system, along with any other pertinent details (such as dimensions, quantity, the room it was to be placed in, and the custom fabrics, when applicable). Our Procurement Manager Amber then contacted the vendors for each individual item to get the prices for those items, along with any freight costs.
For wall papers, Jessica had to include information about how many yards came in a roll, the width of each wall paper, and the dimensions of the space to be wallpapered. All of this information would then be sent to a wall paper installer so that a quote for labor cost could be included in the final pricing.
For custom upholstered items she had to go through the same process (i.e. get a quote for labor costs in order for that information to be bundled into the final price)!
Once everything, from freight to labor to retail cost of the selections, was determined, the team put together the final proposal for the clients to review. Once that was approved and paid for, Amber began the ordering phase! And thus, the selections phase was complete!
Join us for the next edition of this series in which we’ll take you behind the scenes for the construction phase of the project!
Interested in working with us on your project? Send us an email at hello@crimsondesigngroup.com!