Have you ever wondered what it’s like to hire an interior designer? Or have you worked with a designer before, but wondered what goes on behind the scenes? We’re taking you behind the scenes in our new blog series, The Life of a Design Project! In this four part series, follow along as we take you from the Design Concept phase of a residential project, all the way to Install Day!
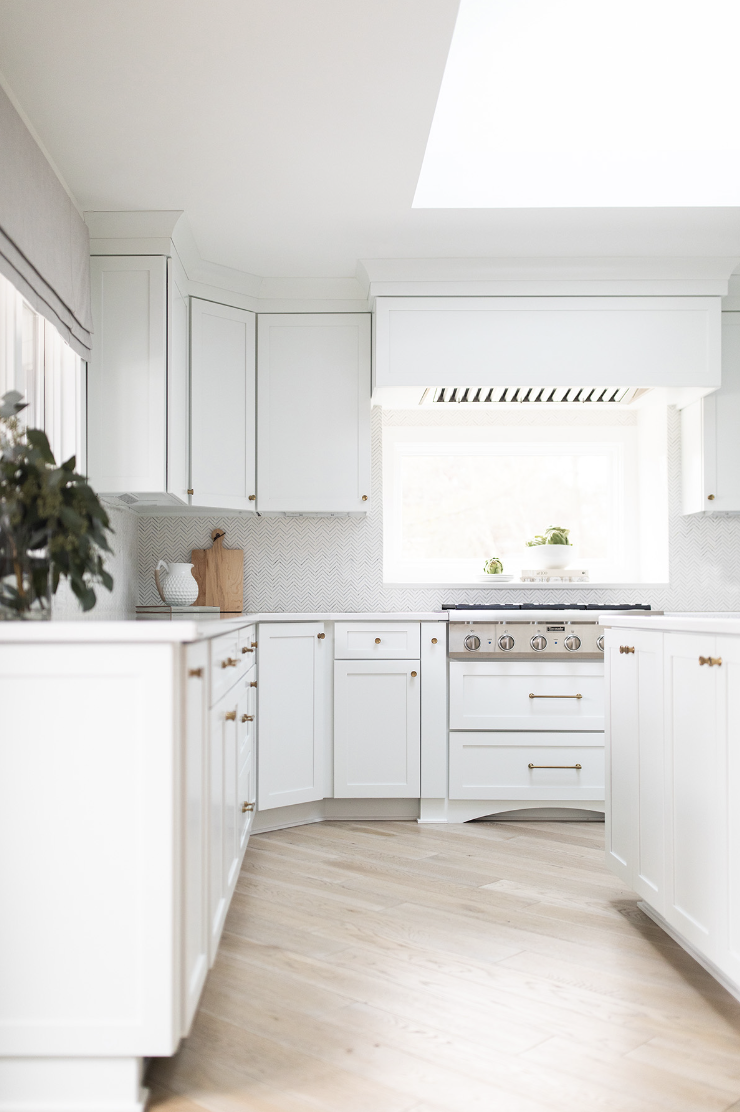
For the project we’ll be following in this series, the clients are remodeling their basement, furnishing multiple rooms in their home, remodeling their powder room, and putting in new window treatments throughout the home. They also have a great room with a unique design challenge: the room is open and airy with walls that are, floor to ceiling, 20 feet tall and completely bare.
In this month’s installment, we’ll show you all that goes into the first step of any interior design project, developing and presenting the Design Concept.
The first step in any design concept? The designer reviews the notes that our business development coordinator and our Design Director made during initial conversations with the client. From these notes the designer learns what the clients needs are, what their lifestyle is like, if they favor furniture based on function over aesthetic (or vice versa), and what their design tastes are as well. Do they want a Glam look? Modern or Midcentury? Contemporary or Traditional? The notes help the designer pin point exactly where they should be taking the design!
The Research Phase
Based on these notes, the designer will begin researching. They’ll go on a Pinterest and/or Houzz deep dive and pin inspiration images. They’ll also go to publications’ (such as Architectural Digest) websites, for further inspiration. If the client has their own Pinterest or Houzz page, the designer will incorporate images from those pages into their concept, as well.
The research phase is crucial to the design process. Here at Crimson we pride ourselves on having an incredibly talented and versatile team, and while we do our utmost to pair designers with projects that best suit their own personal taste, occasionally a designer will be assigned to a project that challenges them. For example, if a designer’s own tastes skew to the Traditional but their client has a taste for Mid-Century Modern design, the research phase will help the designer set the correct tone for the rest of the project.


For this particular project, the clients defined their personal style as being clean and sophisticated, while still maintaining a homey feel. Their Lead Designer, Jessica, began the research phase with those key words in mind: clean, sophisticated, and homey. She took her time collecting inspiration photos and when she noticed that her photos were beginning to sync up exactly with those that the client had pinned on her own Pinterest board, she knew she had a firm handle on what direction to take the design.


Jessica hard at work drafting layouts in AutoCAD, doing research, and building a design presentation!
Developing the Design Concept
After the Research Phase of a design project, the designer can begin developing the project’s design concept! The design concept ultimately defines which textures, colors, and patterns that will inform the overall design of the project.
For this project, Jessica began by pulling fabrics, paint swatches, finishes, and wall paper samples. As the clients hadn’t indicated which colors they preferred or disliked, Jessica decided to develop two full design concepts for the largest room (the great room) and to complete one strong design concept for the second largest room (the basement).
Design concepts for this series’s project!
Space Planning and AutoCAD
After the design concepts have been completed, the designers will begin the space planning and AutoCAD phase of the project. (AutoCAD is a computer-aided design and drafting software application.)

Using blueprints of the home, Jessica input the dimensions of each room into the AutoCAD software in order to build a 2-D model of each room. Within each room’s 2-D model, Jessica then began dropping in scale models of furniture items. Using standard dimensions of everything from coffee tables to sofas, Jessica was able to plan where furniture items would be placed in such a way that each room’s functionality and flow would be optimized.
Putting the furniture layout into AutoCAD at this phase allows the client to give feedback about their preferences during the presentation, and can also inform the shape and size of furniture selected by the design team in the next phase. It can also help to make the design concepts feel more real and immediate. For example, seeing the wallpaper that their designer has selected next to a rendering of the room in which it will be placed brings the design concept to life!
In our next edition of this series, you’ll get to see the rendering of the amazing changes Jessica made to the Great Room’s giant wall, below!


Building the Preliminary Budget
After the space planning and AutoCAD is complete, the Lead Designer is able to determine what a client’s needs for furniture, lighting, wall coverings, and fabrics will be. Keeping in mind the budget that the client gave them in their first meeting, the Lead Designer will work from room to room listing everything that the client will need and put numbers to each item. Usually starting in a mid-range,just to get the conversation going, this preliminary budget will help the client decide where they want to allocate more money (eg. for a durable sofa) and where they want to conserve (eg. for less expensive light fixtures). This budget will also help the client think about things they didn’t realize they needed or about things they don’t actually need to spend money on! For example, in this project, they may have thought they needed new light fixtures but Jessica decided to keep their preexisting crystal chandeliers.


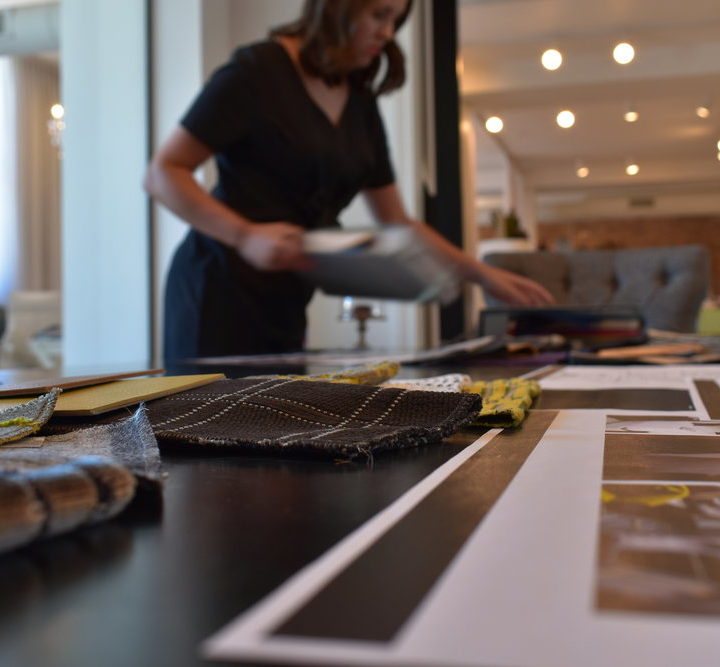
Building the Presentation
Once the AutoCAD, preliminary budget, and design concepts are complete, the designer will build a digital and print presentation, in InDesign. These pages will usually include inspiration photos and AutoCAD layouts. These pages can be brought home and reviewed by clients after the meeting is over!


Jessica and Stephanie set up for a design concept presentation!
Presenting the Concept
The final step of the Design Concept Stage is to present the concept to the client! The Lead Designer, along with any assistants, set out the design concept pages, layout all fabrics, finishes, and wall covering samples, and pin items to the presentation board! We’ll also layout snacks and refreshments for our clients in preparation for their visit.
During the meeting, the client will either approve the design concept or ask for alterations. They’ll also approve the space planning and budgets! Their feedback on all of these factors will influence the rest of the design and ordering process.
Join us for the next edition of this series in which we’ll take you behind the scenes for the next phase of the project! Interested in working with us on your project? Send us an email at hello@crimsondesigngroup.com!